There is a way to keep our computers isolated from malicious npm packages and cybersecurity vulnerabilities. It’s almost like Node and npm will be on an island.
We can use a Docker container to run Node.js and install npm packages.
What are Docker containers and why should we use them?
Docker is a software technology that creates a container that runs on our computer. A container is like running a mini computer within ours and restricts access to our files.
The problem with running Node.js on our computer is the growth of malicious npm packages. There are some malicious actors that purposely put malware in npm packages. They create packages with similar names (called typosquatting) hoping we will install the incorrect version so they can deliver the malware.
These types of npm attacks have been growing significantly and will continue being an issue in 2022 and future years.
What if we installed a malicious npm package and we can limit the extent of the damage? That is where containers can help.
Suppose we installed an npm package that deployed ransomware. All our files would become a victim to the ransomware attack if we were running Node.js on our computer.
Suppose we installed it inside a container. A properly configured container will limit access to the files added to the container. In theory, only those specific files will be compromised and our personal files should be protected. We can stop the container, delete the container image, purge all files associated with the container, and run an antivirus scan just to be safe. Given we commit our code to a software repository, we probably only lost a little bit of our code.
Using a Docker container to run Node.js is like putting our code in quarantine so that an infection does not put a strain on the whole computer.
How do I set up Node.js and npm on my machine?
Start by installing Docker Desktop on our development machine. We will want to create a Docker account also to take advantage Docker scan feature that we will discuss later.
After we install it, go to the settings.
Enable “Docker Compose V2” in the “General” section.

General settings.
Set the desired resource load in the “Resources Advanced” section.

Advanced Resources settings.
Ensure software updates are enabled.

Software Updates settings.
Go to our code folder. Create a file called docker-compose.yml in the top-level directory (or in every folder that we want a customized container).
version: "3"
services:
  dev:
    image: "node:14.18.1-buster-slim"
    user: "node"
    working_dir: /home/node/dev
    volumes:
      - /var/run/docker.sock:/var/run/docker.sock
      - ./:/home/node/dev
The Docker Compose file creates and runs a Docker container without to build it.
The image: property defines the node container. The example uses an official Node.js container image. The version was selected based on the recommendation from the Docker scan.
The working_dir: property defines the home directory as /home/node/dev. (When we start the container it will show dev as the current folder.)
The volumes: property allows running Docker within container and puts all the files where the docker-compose.yml exists, and mounts them to the /home/node/dev directory within the container. (We can delete the first line if we do not need Docker running within the container.)
Using another image like one from Circle (e.g., circleci/node:14-bullseye) provides git and other common Linux utilities.
version: "3"
services:
  node:
    image: "circleci/node:14-bullseye"
    working_dir: /home/node/dev
    volumes:
      - /var/run/docker.sock:/var/run/docker.sock
      - ./:/home/node/dev
In our computer’s terminal, run the following command to start the container.
docker compose run --rm dev bash
docker-compose run --rm dev bash
We will now see a prompt like node@502104098e72:~/code$ in the terminal. This means our terminal is now inside the Docker container running node.
Type the ls command to see our files. We should see our the files within the directory.
Open Docker Desktop and we will see our container running.

A container is running.
We can now run npm i -g some_package_name and npm ci within the container.
(If we have Node installed on our machine, we can try installing a different global npm package in our container. We open a new terminal window, try running the global npm package and we should get an error because it is only installed in our container.)
In the container’s terminal, type the exit command. Go to Docker Desktop and we should no longer see the container.

No container is running.
The --rm flag in the docker compose run commands tells Docker to delete the container after it terminates. This way we can keep our machine cleaner.
Keeping Docker up to date and clean
We should apply the Docker software updates when they become available.
After we apply the updates, we should scan our container for vulnerabilities with a Docker scan.
We need to accept the license to get started with Docker scan.
docker scan --accept-license --version
We can scan our Node.js container with the following command.
docker scan node
The scan output will recommend which container image to use. We will update the image: property within the docker-compose.yml file to have the recommend image.
Every so often we should clean up the images.

Cleaning up images.
And remove old volumes.
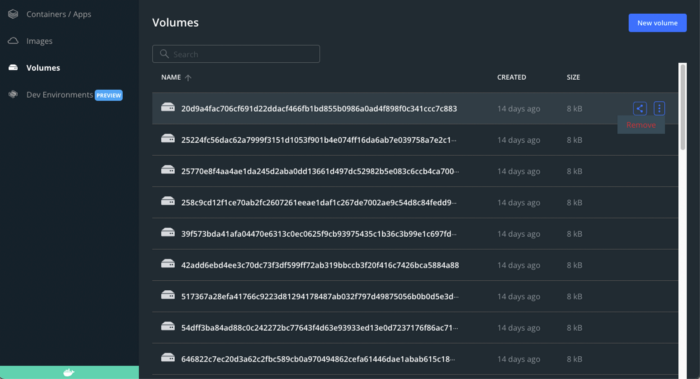
Removing volumes.
Conclusion
Using Docker containers is one way to protect our computers from malicious npm packages and Node.js vulnerabilities because code execution and runtimes are isolated to the container.
Want to Connect?
Miguel is a Principal Engineer and the author of the “Serverless Security” book. He has worked on multiple serverless projects as a developer and security engineer, contributed to open-source serverless projects, and worked on large military systems in various engineering roles.
Originally published on Medium
Photo by Tom Winckels on Unsplash


![Overview of the OWASP Serverless Top 10 [videos]](/_next/image?url=https%3A%2F%2Fcdn.hashnode.com%2Fres%2Fhashnode%2Fimage%2Fupload%2Fv1636408504092%2FBcNttK9q2.png&w=3840&q=75)